

One of the great things about Glock pistols is that the majority of the pistol’s parts can be changed out without any special tools. This has lead to a huge amount of aftermarket performance parts being readily available for Glock pistols. In addition, if you aren’t comfortable maintaining and servicing your Glock, there is a large number of qualified armorers everywhere who can assist you. In this blog, I am going to show you what I did to the Glock 34 Gen4 I was issued to get it set up to compete in USPSA Production Class and 3-Gun.

Field stripping a Gen4 Glock 34 for upgraded springs and Gen3 recoil system parts.
For tuning the recoil system, I ordered an 11lb. recoil spring, a Zev stainless steel full-length uncaptured guide rod, and a recoil spring retaining washer from Zev Technologies. The recoil spring retaining washer fits into the slide on the muzzle end of where the guide rod rests.
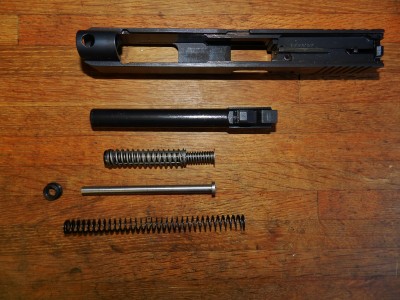
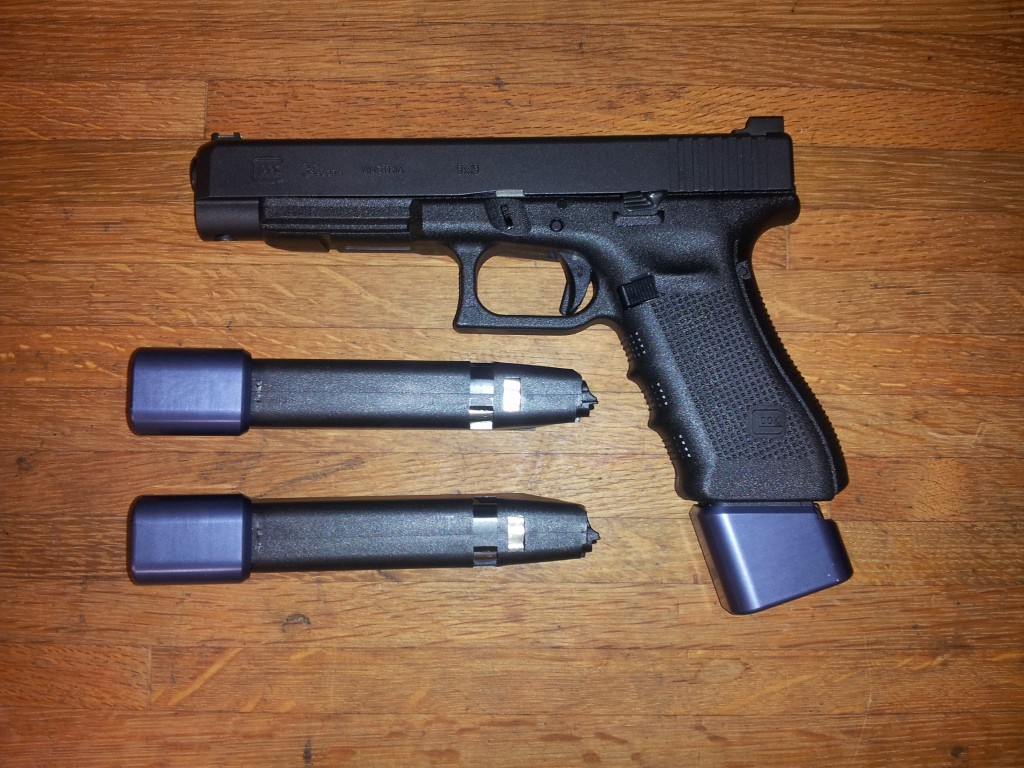
Gen3 performance parts next to the captured dual spring factory guide rod.
This washer from Zev Technologies allows you to use uncaptured guide rods. This is an advantage in several aspects. It allows you to tune your recoil system by easily just swapping out the recoil spring to whatever weight you want. In addition, when your recoil spring wears out (every 5,000 rounds or so), you can easily service the pistol and replace just the spring for around $10. One thing to note, with the recoil spring retaining washer installed, you will not be able to remove the barrel to field strip the slide.

Recoil spring retaining washer installed in Gen4 Glock 34 slide.
This isn’t a huge deal, but without some tool to push the washer out from the muzzle end of the pistol, they can be difficult to remove. The recoil spring retaining washer is not a permanent piece, but it fits tightly in place. For this pistol, I chose an 11lb. recoil spring after a good deal of research. Available springs come in 9lbs. thru 17lbs. The spring is a flat wire spring and made by ISMI springs. These are also readily available on the Zev Technologies website. Due to the Glock 34 being 9mm and using the gun primarily in USPSA for Production with 124grn minor ammo, 11lbs. seems to help me track the front sight the best.
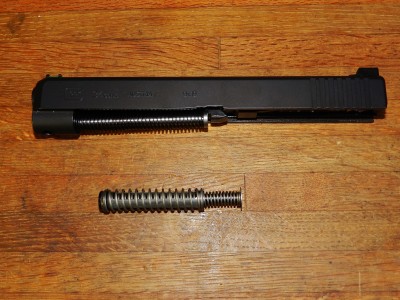
Zev stainless steel uncapture guide rod installed with ISMI 11lb. spring and Zev recoil spring retaining washer.
If you want more information on tuning your recoil system, a local shooter and friend of mine did a great video with a high-speed camera regarding tuning your pistol for double taps. Take a look at his video here for more information. In his video, he covers turning 2011s for shooting; however, the concept is the same for all you Glock shooters.
To tune the trigger, I ordered Zev’s competition spring kit and their Race Connector V4. With these parts and polish, I can get a Production competition trigger for less than $30. Are there better triggers out there that are still Production legal? Yes, but for me, their gains over this set up do not merit the cost.
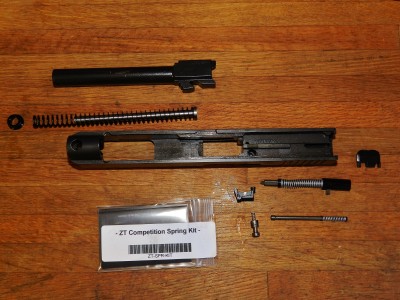
Stripped Glock 34 Gen4 slide with Zev Tech parts ready for install.
To install these parts you are going to need to detail strip the slide and do the same for the grip. With the slide completely disassembled, the plunger will need to have the face polished. This is the flat-rounded side of the plungers opposite of the spring. I polished mine using Flitz and a dremel, but I went very slow and easy. It’s important to just polish and not remove actual material from the parts. Once that’s polished, I replace the factory spring with the Zev spring. I then remove the striker and spring and polish the flat front and bottom of the firing pin lug in the same manner as the plunger.

Firing pin and plunger polished, ready to reinstall with Zev Spring Kit.
Once that is done, I reassemble the slide and put it aside. I then remove the trigger bar, connector, and springs from the housing. The connector from Zev already comes highly polished and ready to install; however, the trigger bar and the areas on it that engage the connector and firing pin lug are going to need to be polished. In addition, the trigger spring will need to be replaced. Once this is completed, reassemble the trigger group and reassemble the lower receiver/grip of the gun.
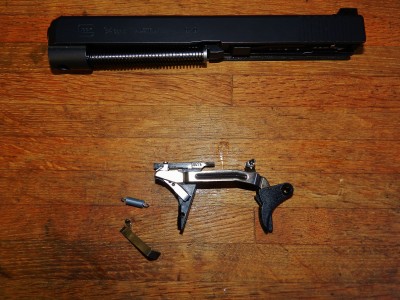
Trigger group polished and race spring and connector installed.
It’s important to function check the pistol once everything is reassembled. This means dry firing the pistol several times to make sure the gun is functioning and that the trigger is resetting properly. It is also important to note that this will not alter any factory safeties on the gun. Also, with these modifications, Taran Tactical Innovations Competition Sights, and an empty factory mag inserted, this pistol weighs 27.3oz, making weight per USPSA rules for Production! With this setup, our T&E Glock 34 Gen4 is now an excellent contender for competition shooting.
Ready to rock 3Gun or USPSA!
Here’s a video of me running this gun with these modifications in our Drill of the Month video for February!!